Showing posts with label rebacking. Show all posts

Saturday, September 11, 2010

Paper Reback

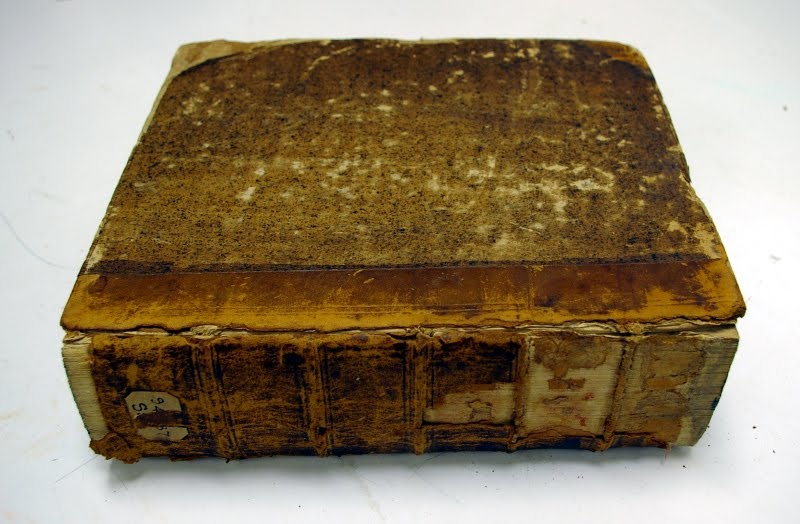
This book was originally bound in marbled paper. The spine had delaminated and pieces were missing. The corners were also badly bumped.
Rather than reconstructing the spine and attempting to tone to match, I decided to attach a new spine piece made from linen lined Morike.  First I removed the remaining spine piece, and cleaned and lined the spine. Then I attempted to re-round it gently with a hammer. I lifted the paper on the boards, and trimmed it back slightly. I also lifted the end papers to make room for the turn ins. I attached the new spine piece, turned it in and pressed the book with jointed boards. This was the end result.

Thursday, June 10, 2010

Recent Rebacks

These are two cloth rebacks I completed simultaneously. Thankfully for both books the sewing was in tact. This first book's covers were detached, the end papers were delaminating, the spine round was askew, and the first three pages were loose.
I started by tipping in the loose pages with wheat starch paste. Then I pasted out and lined the spine, with Japanese tissue and linen. When both linings were dry, I gently hammered the spine to fix the round. Then I proceeded with a reback repair as usual. This is the end result.
This is the second book.

Thursday, June 3, 2010

Leather Reback - Quarter Bound

This is another book from the Syracuse University Ranke Collection that was a good candidate for rebacking. The sewing was completely intact (on raised cords), but the leather at the spine and joint was delaminated.

I was able to remove most the leather from the spine dry, and applied a thin layer of methyl cellulose to remove the rest. Then, I pasted out the spine, and lined it with Japanese tissue. While that dried, I cut strips of linen to be glued down between the cords. Then, I resewed the end bands.
Using a scalpel, I cut along where the leather meets the paper on the boards. I removed the old leather, and lifted the paper slightly. I also lifted the endpapers at the corners and at the spine, for the turn ins. (I also put some brown Morike underneath the lifted paper for support. The paper was brittle and kept breaking. Adding the Morike enabled me to handle it without causing more damage). I measured and cut the new leather and prepared it by paring, dampening with a sponge, pasting it out, and allowing it to sit for the paste to soak in. Then I reattached the boards by gluing out the linen strips and bringing them on to the board. I trimmed the linen so it only overlapped by about half an inch. Then I cut two strips of 10 point board, the exact distance from the spine edge of the board to about 1mm before the paper. This makes the transition between the new and old materials smoother. After gluing down the 10 point strips, I attached the new leather to the corners, and put some silicon release paper between the board and text block. Then I attached the new spine leather, running a bone folder along the cords to accentuate them, and leaving enough material at the turn in to construct the head/tail caps. I wrapped a piece of cord around the joint, and put the book in a press to dry.

Thursday, April 29, 2010

Recent Projects

These are two books I have treated recently in the lab. Unfortunately, I got ahead of myself with these books and did not take before images.
This book was a half leather reback. The text block was a group of pamphlets sewn together and one section was exceptionally brittle. Initially, I tried to tip in the loose pages of this section with paste, but it was unsuccessful. It had to be removed from the group, washed and deacidified,  then guarded and resewn into the text block.
After the text block was repaired, I repaired the case and reattached it as seen in my previous entries. This is the completed book.
This book originally had fake raised bands, so I decided to mimic that when I rebacked it. Before cleaning and lining the spine, I made a template of the band positions. To make the fake raised bands, I glued two pieces of leather together and cut them into strips of the appropriate size. Then, using the template, I positioned the strips on the new spine stiffener. This was good practice, but because the leather was rotting 19th century leather, nothing was gained by saving the spine pieces. This process should be reserved for either better quality leather or a more valuable book. This was the end result.

Friday, April 9, 2010

Rebacking Half Bound Books

I have worked on several reback repairs, but not any on half bound books until recently. What I mean by half bound is that the spine material differed from the covers. For this particular book, the spine was book cloth and the boards were covered in paper. The text block had fallen out of the case and the spine was only attached to one cover.
I cleaned and lined the text block, then worked on the boards. The difference between this book and other reback repairs is that the excess book cloth on the covers is removed, flush with the paper. This creates a smoother transition between the new spine and cover materials.
Once the book cloth was removed I lifted the paper slightly, so the Morike will fit underneath it. Then I proceeded to attach the text block and repair the case as usual. This is the completed repair.
I worked on a similar repair in my class, which I will post when I have the pictures.