Showing posts with label book repair. Show all posts

Saturday, September 11, 2010

Paper Reback

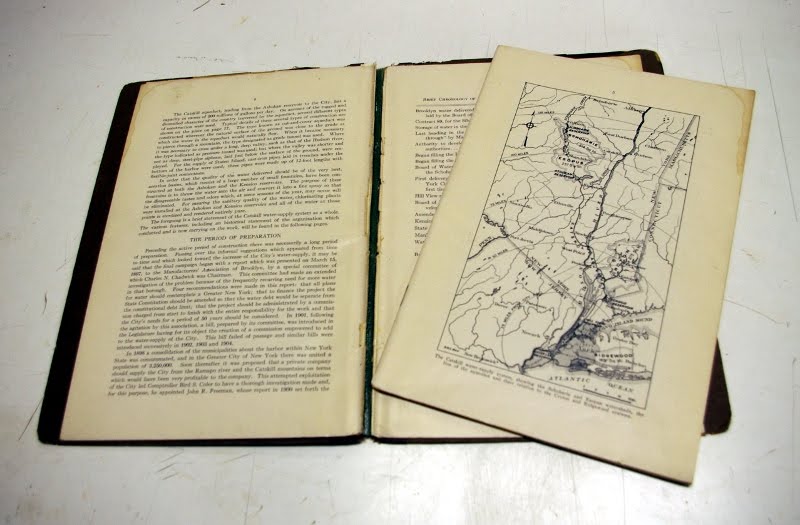
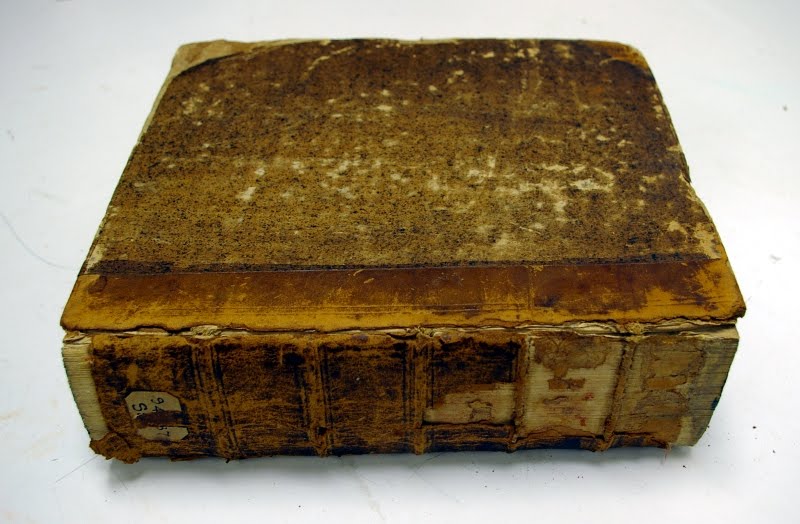
This book was originally bound in marbled paper. The spine had delaminated and pieces were missing. The corners were also badly bumped.
Rather than reconstructing the spine and attempting to tone to match, I decided to attach a new spine piece made from linen lined Morike.  First I removed the remaining spine piece, and cleaned and lined the spine. Then I attempted to re-round it gently with a hammer. I lifted the paper on the boards, and trimmed it back slightly. I also lifted the end papers to make room for the turn ins. I attached the new spine piece, turned it in and pressed the book with jointed boards. This was the end result.

Monday, August 9, 2010

Ranke Rebind

I found this book in the Ranke collection, in Special Collections at Syracuse University. Both joints were broken and the boards loose. The leather was missing at the corners and what remained appeared to be only the flesh side. 
 
 
I soaked the front board in a warm water bath to float off the original book plates. While that soaked, I scraped the old leather off the spine with a cobbler's knife. I covered the spine with methyl cellulose to remove excess glue or linings. Then I lined the spine with Japanese tissue and linen, and added new end bands and end papers.
I cut new boards, and sanded them down to fit against the shoulder. I attached them to the text block with the linen lining. Then I cut a new piece of leather for the spine, and parred the edges. I attached this leather to the spine with paste, as a tight back. After gluing down the turn-ins, I constructed head caps and pressed the book overnight.
Once the new leather was set, I trimmed what overlapped onto the boards and then infilled the board with 10 pt. Next, I covered the board with paste paper, overlapping slightly on the leather. When the paste paper was dry, I trimmed the turn-ins and infilled the inside of the boards. Finally, I glued down the end papers and reattached the original book plates with paste. This was the end result.

Friday, July 23, 2010

Missing Board

This particular book was leather bound and missing its back board.
Normally, my first response would be to rebind the book. If the book had any important book plates, I would soak that board in a warm water bath, until the book plates floated off. Then I would reattach them to the new board when dry. However, this book had a nice book plate that was painted with fugitive inks. A water bath would have destroyed it. I  had to find another way to replace the board.
Since the front board was not attached, I used it as a guide to cut a new piece of board (make sure to account for the added thickness of materials at the squares). I sanded and back cornered the new board so it would tight against the shoulder. Then I cut new endpapers for the back cover, and attached them to the text block with paste.
I toned a piece of PC4 paper using and acrylics/methyl cellulose mix, to match the original leather. While that dried, I built up the corners on the remaining board.
I took the new board and covered it with the PC4 paper and put it in the press, between blotters, to dry flat. Since this paper is relatively thick, I also infilled the board with a 10 pt card (after pressing).
Because the original spine was a tight back and was still intact, I couldn't bring the new material around the spine. Therefore, I attached the new board as I would the originals, with Japanese tissue at the hinge and joint.
I attached the boards at the inner hinge first, using a strip of Japanese tissue and wheat starch paste. (This has to be done one at a time. Make sure the paste has ample time to dry). I reinforced this by adding additional tissue to the joint with PVA. I also reconstructed the head caps. I glued out a piece of tissue, overlapping on to both boards, and wrapped it around a piece of cord, the width of the spine and the height of the squares.
Finally, I toned all the tissue to match. This is the end result. (Middle: original leather board, Bottom: new PC4 board).

Monday, July 19, 2010

Encapsulation and Screw Post Binding (2)


This book required a lot of attention. The original binding was two industrial staples, which had rusted and broken away from several pages. The pages had secured in their original positions using pressure sensitive tape (scotch tape). The pages were also terribly brittle. It would have been impossible to touch this book without causing more damage to the pages.
My first step was to remove all the pressure sensitive tape. Luckily, most of the original adhesive had deteriorated, and it came off easily. Next, I collated and pulled the book. Once I had all the pages separated, I placed them between Reemay and washed them. Twice in a warm water bath, and once with magnesium bicarbonate to act as a buffer.
Even after washing/deacidifying, the paper was still to brittle to guard and resew. So, I opted for encapsulation. This would enable the pages to be handled, and help prevent further damage. I encapsulated each page in Mylar, and bound them as a screw post binding.
These are pictures of the end result.

Monday, July 5, 2010

Building Up Corners

This was a leather bound book that I did Japanese tissue repair for. A couple of the corners were seriously damaged and misshaped.
To infill the corners, I cut small squares of board. These should be small enough to handle, but extend past the book's board edge so they can be trimmed to size later. I parred these squares of board at one corner, until they were thin enough to fit between the existing board. It is important not to par too far out. Remember the thickness of the square should be flush with the book's covers at the board edge. I attached these squares with PVA. Then I covered the new material with Japanese tissue, overlapping on to the original leather.

When all the corners were repaired, I toned them to match, and applied SC 6000 wax. This is the end result.

Tissue Repair on Leather

This particular book's joint was broken and the spine was loose. It also had damage to both end caps. I repaired these areas with Japanese tissue. Unfortunately, I was working on a group of seven tissue repairs and did not take "before" pictures. Because the leather was also deteriorating, I coated the entire book with Klucel G. This picture shows the book before toning.
I was very lucky because the color of this leather was easy to match. For this reason, I decided to tone the areas of deteriorated leather between the gold stamping. After doing this, I applied SC 6000 wax to the areas treated with tissue, to add shine and create the appearance of leather. This is the end result.

Monday, June 28, 2010

Pamphlet Repair

This pamphlet was originally housed in a pamphlet binder. The binder was old and acidic.

The pamphlet had been attached to the binder with a book cloth hinge. The first and last pages were still attached with this hinge, but the rest of the text block had broken away.
The first step was to remove all the pages from the binder. I cut the attached free using a scalpel. Next, I removed the book cloth. I was able to peel it off dry because the adhesive had deteriorated. Then I guarded the loose pages together using heat set tissue, and resewed the pamphlet. Finally, I rehoused the object in an archival envelope.

Thursday, June 24, 2010

Spine Repair

This particular book's spine had broken at the joint. The bottom half was also missing. Since the inner hinge and muslin lining were intact, a complete reback would have been overkill.
 To infill the missing piece of the spine, I cut a piece of 10 point board the width of the spine and the height needed. I used a Morike similar in color to the cover material to attach the 10 point board and to repair the joints and end caps. This is the completed repair.

Wednesday, June 16, 2010

Mylar Envelope

Besides the codex, we also encounter pamphlets, limp paper bindings, newspapers, etc. Sometimes these materials have some damage, but do not warrant intensive repair. In those cases, we can often provide support by encapsulation in a Mylar envelope. This envelope enables you to view the materials, remove them for handling, and keeps them protected and flat (with a 20 or 40 point board for support).
This particular book was stapled at the spine. The staples had rusted away, but the pages were still collated and in tact. The book had also been stored folded.
I cut a piece of board to the exact size of the book, and constructed the Mylar envelope. I began by folding a piece of Mylar in half and sharpening the fold with a bone folder. I put this fold into the mounting press. Then I used the crisp edge to cut the next side. I put the book and board between the Mylar sheets to measure the final side (the thickness of the materials must be accounted for). After removing the object, I cut and pressed the third side. The forth side was also trimmed, but left open so the object can be removed. This is the end result.

Mold Removal

This book came through the lab on our end processing cart. There was mold on the front cover and on the first 30 or so pages. This is a picture from one of the worst pages.
To remove the mold, I used a Nilfisk vacuum. These vacuums are great for mold because their chamber is completely contained, so there is no risk of it escaping. They also enable you to control suction strength and speed, for more delicate materials. All I had to do was run the brush attachment over the cover and each page, and it removed the mold spores. This is the same page after cleaning.
Note: Because mold spores can be inhaled and cause illness, it is advised for this method of treatment that a facial mask is worn and if possible, the materials are cleaned under a fume hood.

Thursday, June 10, 2010

Recent Rebacks

These are two cloth rebacks I completed simultaneously. Thankfully for both books the sewing was in tact. This first book's covers were detached, the end papers were delaminating, the spine round was askew, and the first three pages were loose.
I started by tipping in the loose pages with wheat starch paste. Then I pasted out and lined the spine, with Japanese tissue and linen. When both linings were dry, I gently hammered the spine to fix the round. Then I proceeded with a reback repair as usual. This is the end result.
This is the second book.

Thursday, June 3, 2010

Leather Reback - Quarter Bound

This is another book from the Syracuse University Ranke Collection that was a good candidate for rebacking. The sewing was completely intact (on raised cords), but the leather at the spine and joint was delaminated.

I was able to remove most the leather from the spine dry, and applied a thin layer of methyl cellulose to remove the rest. Then, I pasted out the spine, and lined it with Japanese tissue. While that dried, I cut strips of linen to be glued down between the cords. Then, I resewed the end bands.
Using a scalpel, I cut along where the leather meets the paper on the boards. I removed the old leather, and lifted the paper slightly. I also lifted the endpapers at the corners and at the spine, for the turn ins. (I also put some brown Morike underneath the lifted paper for support. The paper was brittle and kept breaking. Adding the Morike enabled me to handle it without causing more damage). I measured and cut the new leather and prepared it by paring, dampening with a sponge, pasting it out, and allowing it to sit for the paste to soak in. Then I reattached the boards by gluing out the linen strips and bringing them on to the board. I trimmed the linen so it only overlapped by about half an inch. Then I cut two strips of 10 point board, the exact distance from the spine edge of the board to about 1mm before the paper. This makes the transition between the new and old materials smoother. After gluing down the 10 point strips, I attached the new leather to the corners, and put some silicon release paper between the board and text block. Then I attached the new spine leather, running a bone folder along the cords to accentuate them, and leaving enough material at the turn in to construct the head/tail caps. I wrapped a piece of cord around the joint, and put the book in a press to dry.

Wednesday, May 12, 2010

Tape Removal - Music Book

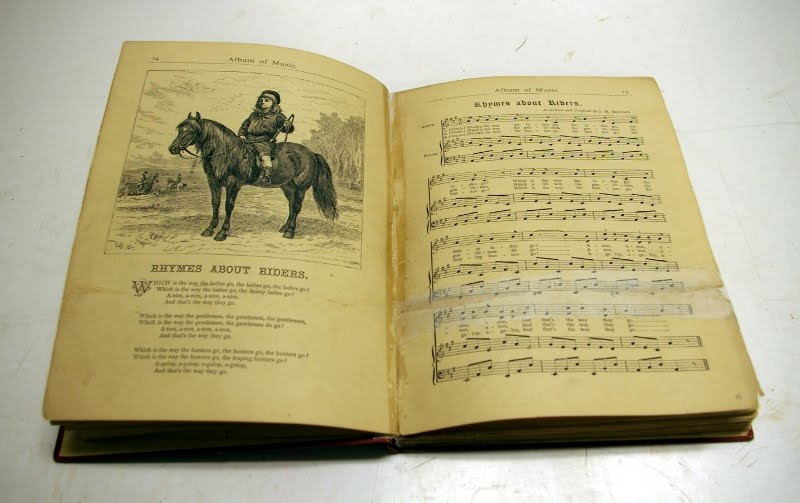
This book's sewing had broken in several places and the signatures were being held together with pressure sensitive tape. The case was detached, but in good shape.
I began by removing all the tape with a tacking iron and spatula. In several areas, the plastic carrier from the tape had dried and fallen off, leaving behind only the adhesive residue. I was able to remove most of this using ethyl alcohol and a cotton swab. When I had all the signatures loose, I washed the book between Reemay. First, in more alcohol to help reduce the tape staining and open the fibers. Then in water twice and Magnesium Bicarbonate [Mg2(CO3)2]. These pictures show the water washes one (top) and two (bottom). As you can see, a lot was removed.
When the sheets were dry, I guarded the loose leaves back together and repaired damaged pages with Japanese tissue and heat set tissue. Then I resewed the text block (two on) and lined the spine with Japanese tissue and linen. I repaired the case by lining Japanese tissue behind the original spine and adding a blotting paper stiffener. I also put PVA in the bumped corners and more Japanese tissue on the corners and endcaps, where the cloth was damaged. I rehung the boards using the linen spine lining, then covered the hinge with a strip of Japanese tissue. These are pictures of the end result.