Showing posts with label raised cords. Show all posts

Sunday, June 6, 2010

The Thread That Binds - Design Binding

For The Bone Folder's 2010 Bind-o-rama, the text block chosen was The Thread That Binds. I worked on this design in my book binding class. I decided to sew the text block on raised cords. The signatures were very thick, so I decorated the edge with speckled blue acrylic. The leather I had to work with was a thick, gray, morocco grain. For a color scheme, I decided to go with gray and blue. I sewed the text block with blue thread (so it would show on the exposed cords), and sewed blue and gray end bands. For the boards, I glued pieces of mat board together. This provided me with the thickness I needed to match the leather, and was easily shaped by sanding. (I had to angle the boards to be thinner at the spine, so that book could open easily). I attached these boards to the text block by fraying and pasting out the cord on them.
I pared the leather and cut away the middle with a circle cutter. I also attached this with paste, leaving extra material out at the turn in to construct the head/tail cap. Then I infilled the covers, glued down the paste papers and trimmed the turn ins. For the joint, I pared two strips of the same leather thin and pasted them down, overlapping slighting on the text block and on to the board. When those dried, I rubbed them down flush with a bone folder at the spine, then infilled the boards and cut sheets of gray Roma for the end papers. The board sheet was glued down directly on the covers. The fly sheet however, was glued onto the text block using just a thin bead of PVA along the spine and fore-edge. Finally, I painted the exposed area of the spine to match the paste paper.

Thursday, June 3, 2010

Leather Reback - Quarter Bound

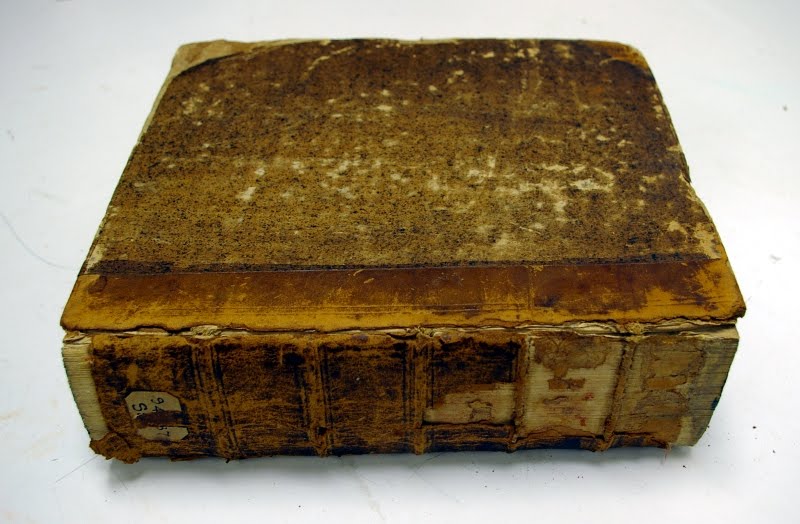
This is another book from the Syracuse University Ranke Collection that was a good candidate for rebacking. The sewing was completely intact (on raised cords), but the leather at the spine and joint was delaminated.

I was able to remove most the leather from the spine dry, and applied a thin layer of methyl cellulose to remove the rest. Then, I pasted out the spine, and lined it with Japanese tissue. While that dried, I cut strips of linen to be glued down between the cords. Then, I resewed the end bands.
Using a scalpel, I cut along where the leather meets the paper on the boards. I removed the old leather, and lifted the paper slightly. I also lifted the endpapers at the corners and at the spine, for the turn ins. (I also put some brown Morike underneath the lifted paper for support. The paper was brittle and kept breaking. Adding the Morike enabled me to handle it without causing more damage). I measured and cut the new leather and prepared it by paring, dampening with a sponge, pasting it out, and allowing it to sit for the paste to soak in. Then I reattached the boards by gluing out the linen strips and bringing them on to the board. I trimmed the linen so it only overlapped by about half an inch. Then I cut two strips of 10 point board, the exact distance from the spine edge of the board to about 1mm before the paper. This makes the transition between the new and old materials smoother. After gluing down the 10 point strips, I attached the new leather to the corners, and put some silicon release paper between the board and text block. Then I attached the new spine leather, running a bone folder along the cords to accentuate them, and leaving enough material at the turn in to construct the head/tail caps. I wrapped a piece of cord around the joint, and put the book in a press to dry.