The second method was to apply a thin Japanese tissue to the top of the sample, barely overlapping, with paste. Then tone the tissue with acrylics. (I think watercolor is generally more appropriate for this type of repair, but acrylic is all I had available. Therefore, I ensured this additional Japanese tissue layer could be removed, even after toning, by testing it on a small area. As long as the acrylic is not painted over the tissue edge, there should be no damage to the sample). I used this method sparingly because it was time consuming, difficult to match colors/patterns, and often unnecessary for the size of the missing area. These are two samples for which I did tone.
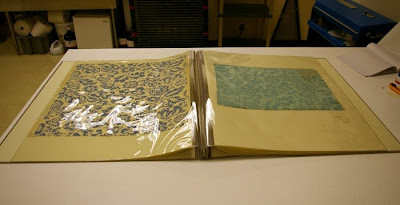
After all the samples were treated, I made labels for each and interleaved sheets of Dove Gray, due to the variation in size. Finally, I encapsulated the samples in polyester film (Mylar) and constructed a screw-post binding (2010).


No comments:
Post a Comment